Image Slide
Image Slide for macOS v1.3 Updates
12/31/2024
Skim through Images using Image Slide for Windows
05/04/2023

Image Slide is a great way to skim through an array of images.
Click the 'Choose Image Directory' button in toolbar to locate a directory containing image files. Images will be loaded into a background collection and default to showing the first image from list. Images in collection will be listed in alphabetical order. Care should be taken to choose a location with an appropriate image quantity. The more images in a directory the slower the processing time. Fewer images like in the range of 20-60, make for a better experience.
Using File Explorer, drag some images and drop them onto Image Slide's app UI. Images will appear in the view and can be cycled to using the Slider control. Dropped images won't persist through app relaunches (use Directory Picker for that). If you had set an image directory and then drag/dropped some images, upon next app restart the image directory items will re-appear. If you wish to clear the image directory when drag/dropping different images, click the 'Clear App Data' button before drag/dropping new images.
Use the 'Clear App Data' button to remove the image directory reference from Image Slide app. Clear App Data doesn't affect any files stored on computer. Image Slide uses the Entitlement 'Access User Selected Files (Read Only)' - meaning it can't change any computer file data.
Use the Slider along the bottom to drag left/right. Moving the slider will switch between images from the chosen directory.
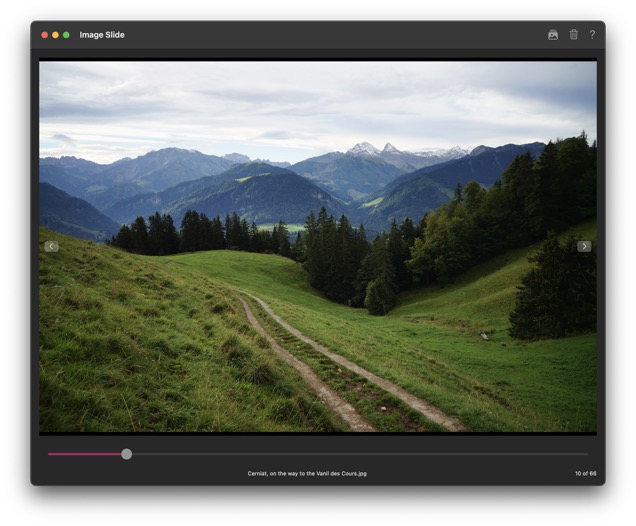
Along the bottom of the UI will show the selected image name. Hovering above the image name with the mouse cursor will show a tooltip of the image path. To the bottom right corner lists the image directory count.
Use mouse scroll to Zoom into the image.
Use left-mouse-click-hold + drag to pan around the image.
After zooming/panning, if you need to reset the image position, double-click the image. Keep in mind if the image is already at reset coordinates/zoom-level, double-clicking will launch the image.
Double-click the image to launch the image using its default application. Keep in mind if the image has been panned or zoomed, double-clicking will reset the image position.
Right-click image and choose 'Copy' to copy the image to the system pasteboard (clipboard).
Right-click image and choose 'Open File Location' to open the Windows File Explorer to the selected image's directory.
Skim through Images using Image Slide for macOS
04/19/2023

Image Slide is a great way to skim through an array of images.
Click the 'Choose Image Directory' button in toolbar to locate a directory containing image files. Images will be loaded into a background collection and default to showing the first image from list. Images in collection will be listed in alphabetical order.
Using Finder, drag some images and drop them onto Image Slide's app UI. Images will appear in the view and can be cycled to using the Slider control. Dropped images won't persist through app relaunches (use Directory Picker for that). If you had set an image directory and then drag/dropped some images, upon next app restart the image directory items will re-appear. If you wish to clear the image directory when drag/dropping different images, click the 'Clear App Data' button before drag/dropping new images.
Use the 'Clear App Data' button to remove the image directory reference from Image Slide app. Clear App Data doesn't affect any files stored on computer.
Use the Slider along the bottom to drag left/right. Moving the slider will switch between images from the chosen directory.
Along the bottom of the UI will show the selected image name. Hovering above the image name with the mouse cursor will show a tooltip of the image path. To the bottom right corner lists the image directory count.
Use mouse scroll or trackpad pinch gesture to Zoom into the image.
Use left-mouse-click-hold + drag to pan around the image.
After zooming/panning, if you need to reset the image position, double-click the image. Keep in mind if the image is already at reset coordinates/zoom-level, double-clicking will launch the image.
Double-click the image to launch the image using its default application. Keep in mind if the image has been panned or zoomed, double-clicking will reset the image position.
Right-click image and choose 'Copy' to copy the image to the system pasteboard (clipboard).
