January 2023
That Text for macOS in Development
01/29/2023 Filed in: That Text
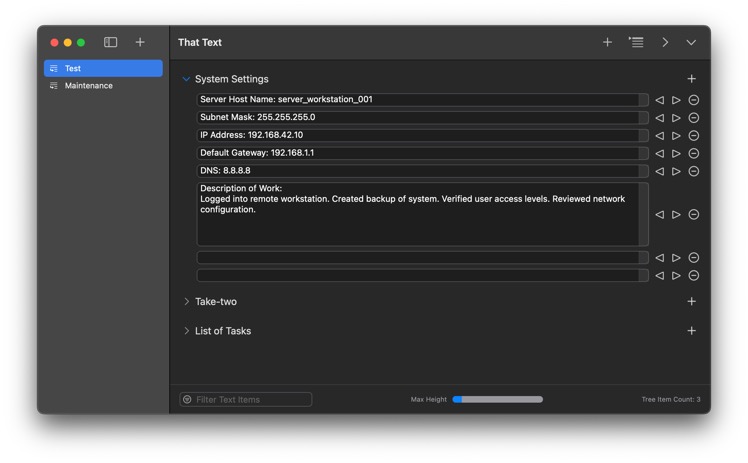
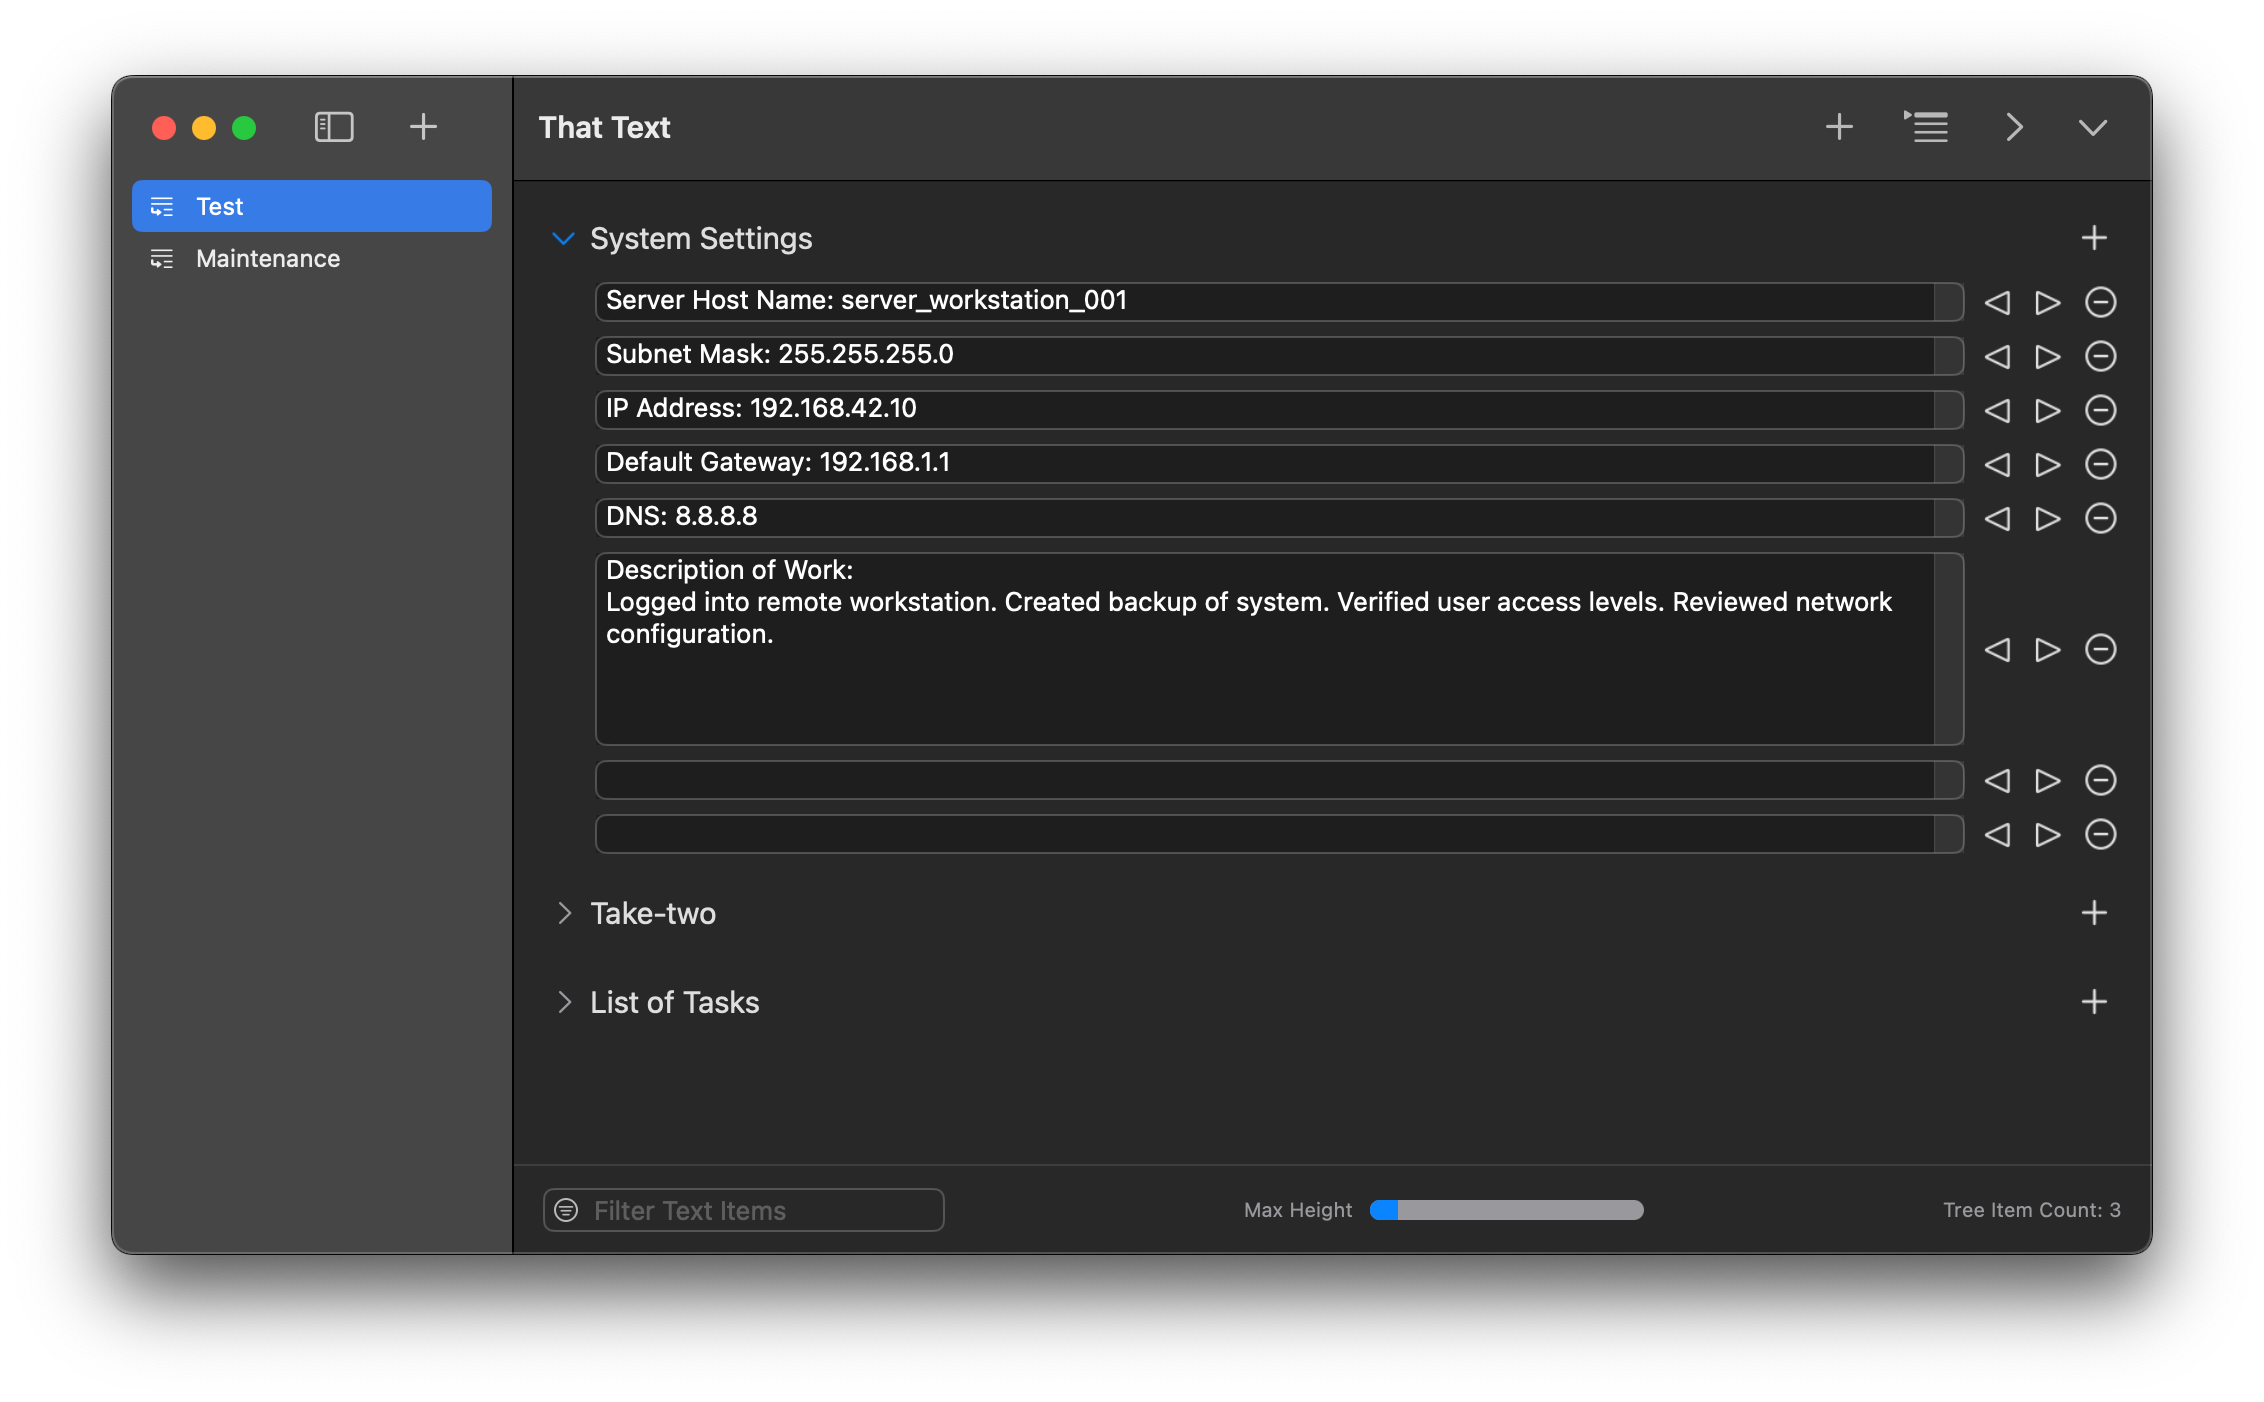
Currently working on a macOS app called "That Text". This app will be used for documenting information in text form. The purpose of this app is to allow a clean navigable UI that presents text based data in an easy to consume and update format.
That Checklist for macOS
01/29/2023 Filed in: That Checklist

That Checklist allows for quick data entry into text fields and mark-off of checkboxes. Group checklists content into navigable entries to easily organize content. Click on a Nav Item to bring up previous checklists fast. Edit or reorder content using built-in context menus. Checklists can be shifted left/right to simulate a parent/child tree-like structure. A powerful Filter field allows for fast filtering of content. Filtering can be toggled between filtering by checklist text entry or Tree name.
Instructions for app use:
1.) Launch app.
2.) Create a new Navigation Item by clicking " + " button.
3.) Type in a name for the Navigation Item.
4.) Click the newly create Navigation Item. A new view will load in the main view.
5.) Click the " + " button in the upper right corner.
6.) Enter in a name for the Tree Item.
7.) Click the " + " button next to the newly created Tree Item. This will automatically create a new Checklist Item.
8.) Enter in a text for the Checklist Item.
9.) Check the checkbox for the Checklist Item to mark the item complete.
10.) Use arrows to the right of the Checklist Item to shift the Checklist Item left/right.
11.) Click the " - " button to the right of the Checklist Item to remove the Checklist Item.
12.) Click the Reorder button in the toolbar to reorder the Tree Items.
13.) Right click any Checklist Item for context commands.
14.) Right click any Tree Item for context commands.
15.) Right click any Navigation Item for context commands.
How to Make a SwiftUI List Scroll Automatically
01/22/2023
How to Make a SwiftUI List Scroll Automatically. Using Apple Xcode for macOS.
macOS: v13.1
Xcode v14.2
Swift: v5
iOS: v14.2
macOS: v13.1
Xcode v14.2
Swift: v5
iOS: v14.2
Compare 2 Folder - Compare macOS Files & Folders
01/20/2023 Filed in: Compare 2 Folder
Compare files and folders for directories. Compare by name, date modified, size, or all of the above. Fast filter options to display all results, just matches, or just non-matches. Ability to hide/show properties for date modified and size. Change how folders are displayed, either grouped at the top before files, or sort amongst files by alphabetical order. Use the Include Subfolders option to list all files and folders; including items nested inside other folders. Care should be taken using the subfolders option, as the processing time for comparison will be much longer for large lists.
Instructions for App Operation:
1.) Launch app.
2.) Click button for Set Directory 1. Choose a directory for comparison. Directory should include files or folders.
3.) Click button for Set Directory 2. Choose a directory for comparison. Directory should include files or folders.
4.) The left/right lists will update to show files/folders and a comparison status green/red checkmark/x to indicate comparison results. A green checkmark indicates the item appeared in the other list. An X indicates no match was found for selected comparison parameter.
5.) Toggle toolbar buttons appropriately.
6.) Change 'Comparison' toolbar selection for desired comparison. E.g. choosing 'Name' will compare file/folder names between the two lists.
7.) Change 'Filter' for desired filtered result for Lists.
8.) Double-click a list's file/folder to launch the item.
9.) Right-click a list's file/folder to see 'Open' to launch the item.
10.) Right-click pathbar along bottom to see 'Open' to open the path location in Finder.