IOS
That Text for iOS
03/15/2023

That Text allows for quick data entry into text fields. Group text content into navigable entries to easily organize content. Click on a Nav Item to bring up previous text entries fast. Edit or reorder content using built-in context menus. Text entries can be shifted left/right to simulate a parent/child tree-like structure. A powerful Filter field allows for fast filtering of content. Filtering can be toggled between filtering by Text entry or Tree name.
Features:
- Editable navigation items.
- Stellar tree view to organize complex text lists.
- Great looking text fields that can be indented to form parent/child structures.
Instructions for app use:
1.) Launch app.
2.) Click + icon to create a new Navigation Item (Nav Item).
3.) Enter in a Nav Item name.
4.) Click newly created nav item.
5.) Main view loads. Click + icon in upper right to add new Tree Item. When pop up shows, enter a name.
6.) Click newly created Tree Item’s + icon. This creates Text fields for data entry.
7.) Type data into text fields. It auto saves content.
8.) Click move left/right arrows to adjust indent.
9.) Click ( - minus) icon to delete a text field. If text field has data, there will be a confirmation pop-up. If no data, the field is just removed.
10.) Tap-hold on text field's buttons to right for context options. For example tap-holding on minus (-) button will show more options.
10.1) Tap-hold options: Insert New Text Above/Below will insert a new text field either above current tap-hold location or below. Indentation of inserted items will match current indent of currently tap-hold item.
10.2) Reorder will show a pop-up view where user can drag/drop entries around in whichever desired order is wanted.
11.) Toolbar Reorder button will perform a similar task as the text field Reorder; although it will only show Tree items in list and they will be reordered to desired order.
12.) Toolbar chevrons for collapse all and expand all, this affects only Tree items under current Navigation item - unless using the "All Items" navigation, then all Tree Items for all Navigation Items will either expand or collapse.
13.) Tap-hold context options for Navigation items for editing Nav Item name, Reordering list, or deleting.
14.) Filter field at bottom left of main view - clicking the filter icon will cycle between either filtering by Text data or by Tree Item name. Toggle icon to appropriate choice and type into filter field. Data is dynamically filtered. Be sure to clear the filter when complete - changing to another Navigation item keeps the Filter text and will still actively attempt to filter content.
Use Examples:
-Document computer configuration
-Create notes regarding topics of interest
-Record information regarding work tasks.
That Checklist for iOS Update v1.2
03/12/2023
That Checklist v1.2 is now available on the iOS App Store. This versions brings several updates, including:
That Checklist for iOS
03/04/2023
That Checklist allows for quick data entry into text fields and mark-off of checkboxes. Group checklists content into navigable entries to easily organize content. Click on a Nav Item to bring up previous checklists fast. Edit or reorder content using built-in context menus. Checklists can be shifted left/right to simulate a parent/child tree-like structure. A powerful Filter field allows for fast filtering of content. Filtering can be toggled between filtering by checklist text entry or Tree name.
Features:
- Editable navigation items.
- Stellar tree view to organize complex checklists.
- Great looking checklists that can be indented to form parent/child structures.
Instructions for app use:
1.) Launch app.
2.) Click + icon to create a new Navigation Item (Nav Item).
3.) Enter in a Nav Item name.
4.) Click newly created nav item.
5.) Main view loads. Click + icon in upper right to add new Tree Item. When pop up shows, enter a name.
6.) Click newly created Tree Item’s + icon. This creates checklist for data entry.
7.) Type data into text fields. It auto saves content. Click the checkbox to check-off items like a checklist.
8.) Click move left/right arrows to adjust indent.
9.) Click ( - minus) icon to delete a checklist. If text field has data, there will be a confirmation pop-up. If no data, the field is just removed.
10.) Tap-hold on checklist checkbox or the buttons to right for context options. For example tap-holding on minus (-) button will show more options.
10.1) Tap-hold options: Insert New Text Above/Below will insert a new checklist either above current tap-hold location or below. Indentation of inserted items will match current indent of currently tap-hold item.
10.2) Reorder will show a pop-up view where user can drag/drop entries around in whichever desired order is wanted.
11.) Toolbar Reorder button will perform a similar task as the checklist Reorder; although it will only show Tree items in list and they will be reordered to desired order.
12.) Toolbar chevrons for collapse all and expand all, this affects only Tree items under current Navigation item - unless using the "All Items" navigation, then all Tree Items for all Navigation Items will either expand or collapse.
13.) Tap-hold context options for Navigation items for editing Nav Item name, Reordering list, or deleting.
14.) Filter field at bottom left of main view - clicking the filter icon will cycle between either filtering by Text data or by Tree Item name. Toggle icon to appropriate choice and type into filter field. Data is dynamically filtered. Be sure to clear the filter when complete - changing to another Navigation item keeps the Filter text and will still actively attempt to filter content.
Use Examples:
-Verify the packing of camping supplies.
-Create to do lists for chores.
-List out your reminders.
-Document completion of work tasks.
How to Make a SwiftUI List Scroll Automatically
01/22/2023
How to Make a SwiftUI List Scroll Automatically. Using Apple Xcode for macOS.
macOS: v13.1
Xcode v14.2
Swift: v5
iOS: v14.2
macOS: v13.1
Xcode v14.2
Swift: v5
iOS: v14.2
Simple Week for iOS
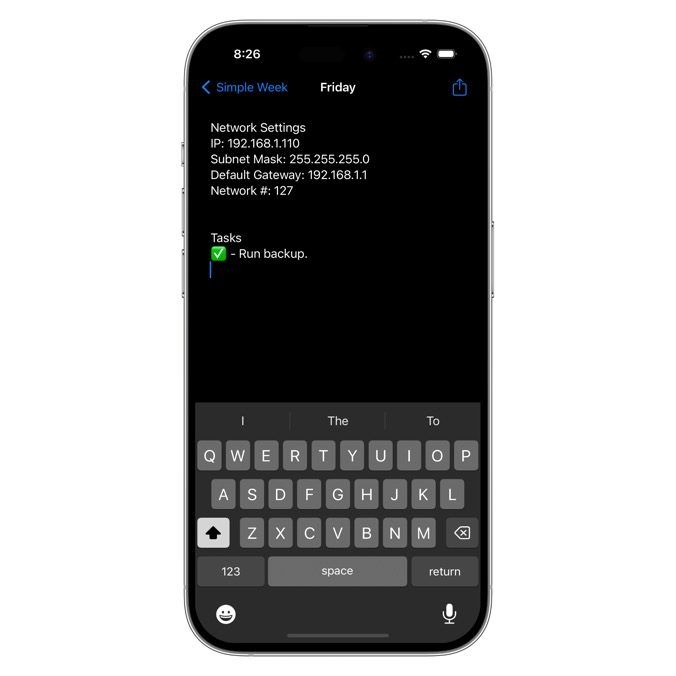
11/11/2022
Finished development on iOS version of Simple Week. I use this app to quickly write down notes throughout the week. This works out great when I don't have time to organize the notes, but just need to get it recorded. I can later transfer the notes to Apple's Notes app which is meant for more permanent note taking. Simple Week works great for temporary notes or data needed on a certain day of the week.
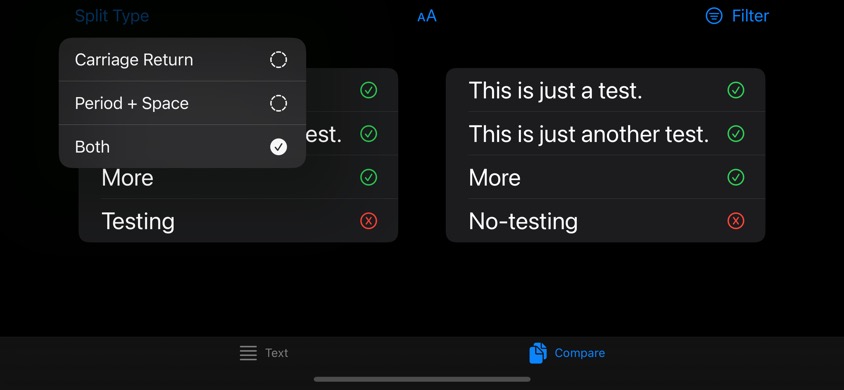
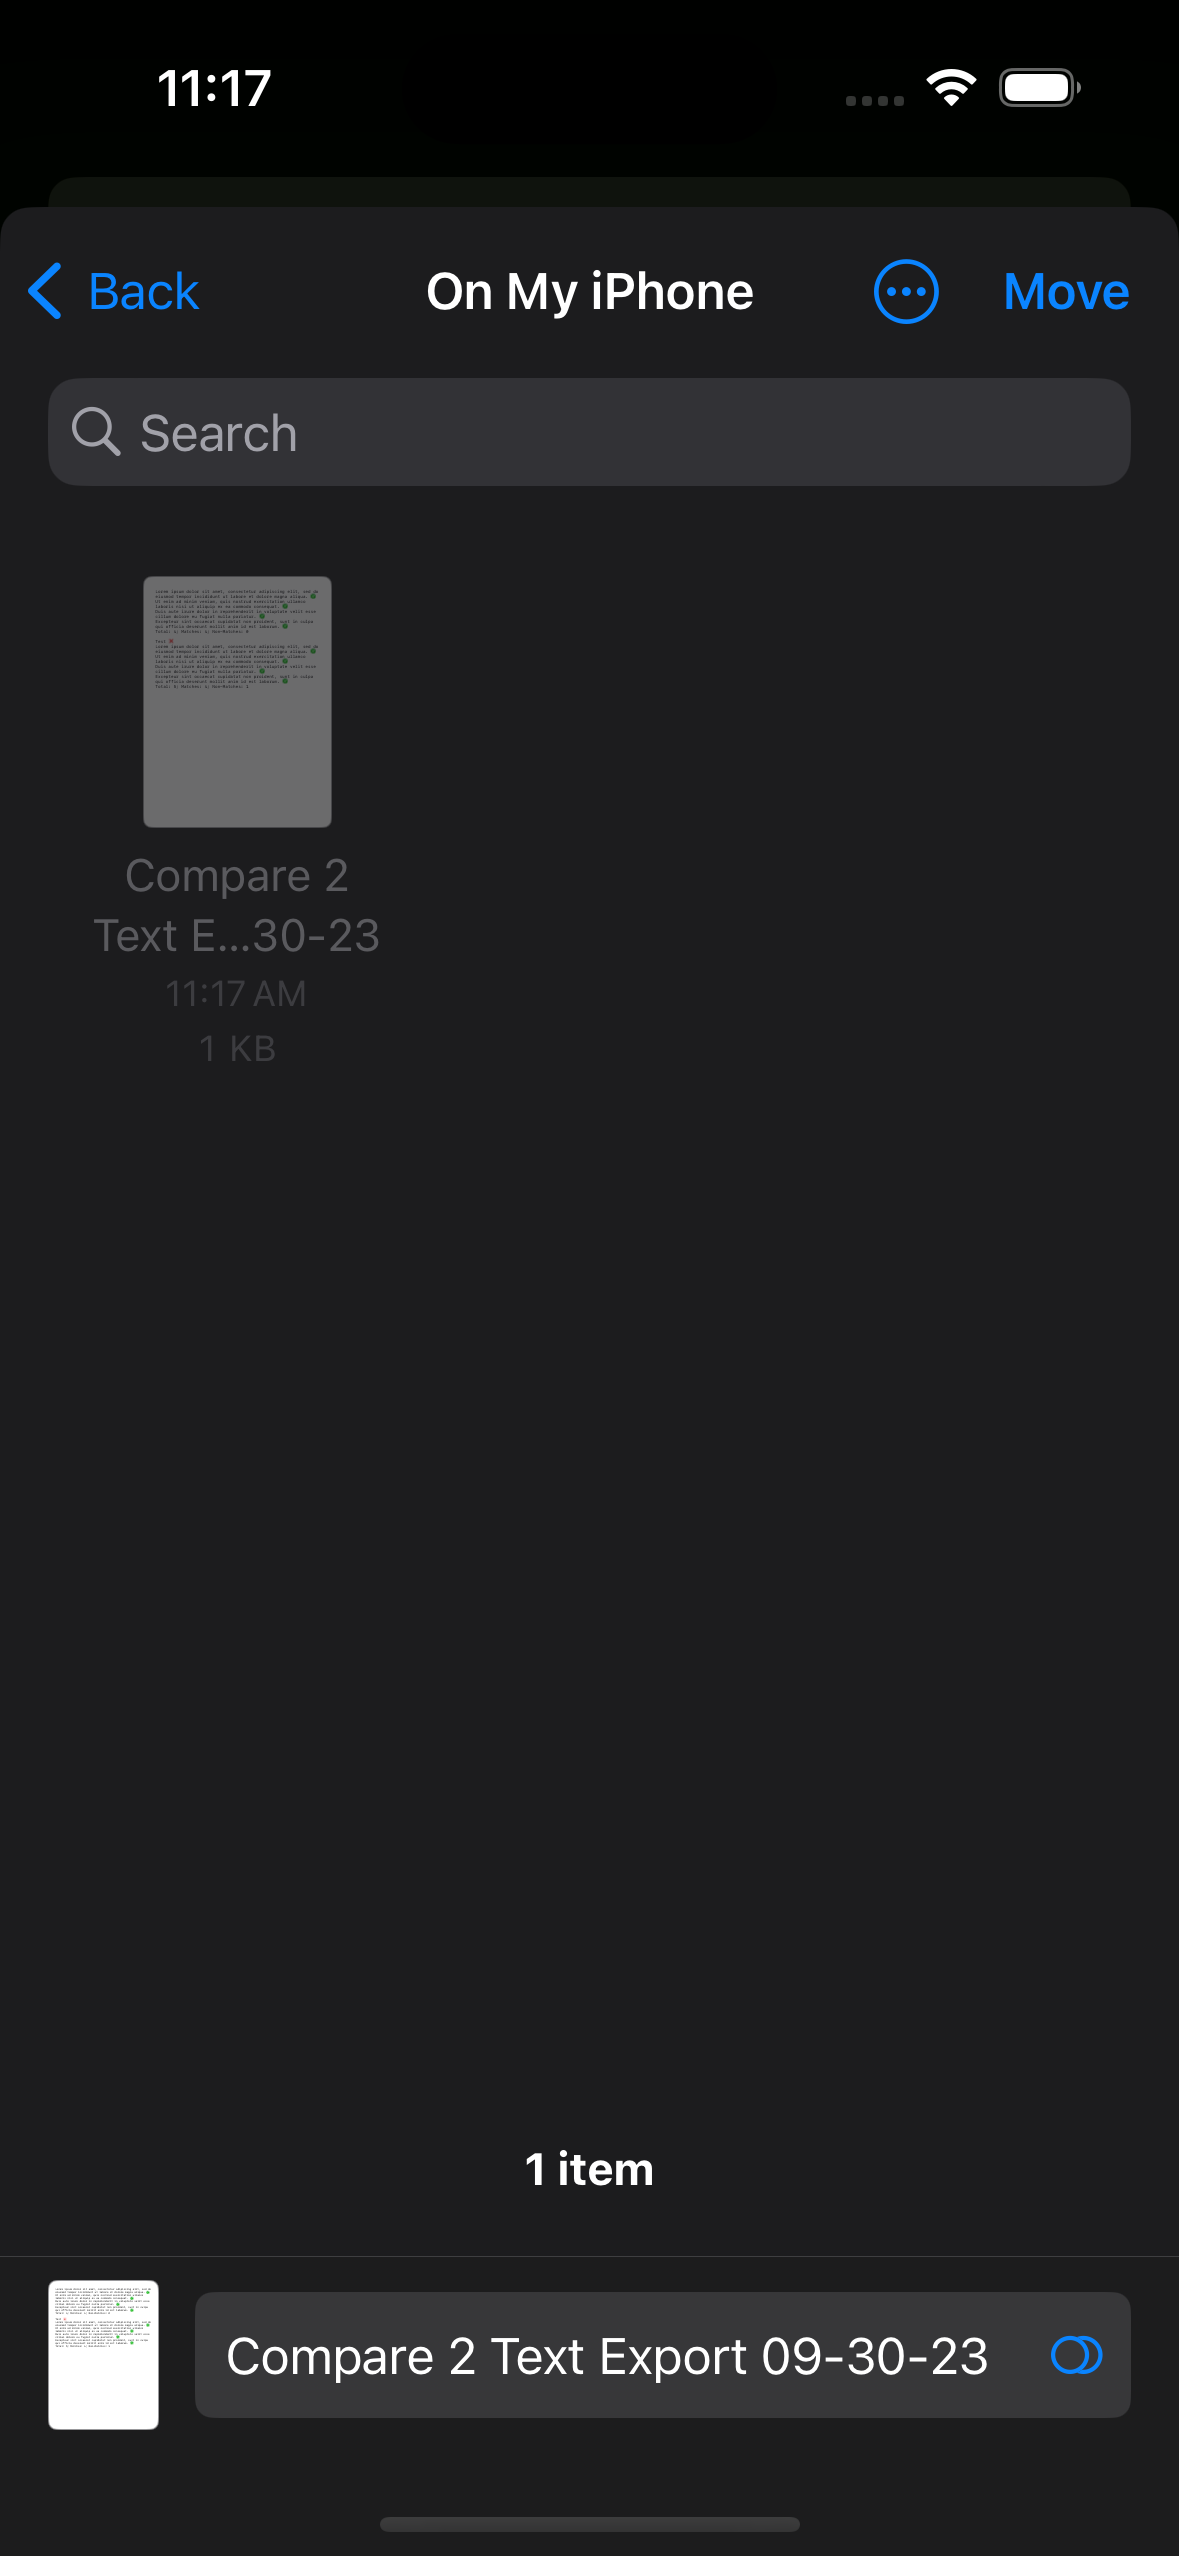
Compare 2 Text for iOS
10/18/2022
Finished development on Compare 2 Text for iOS. This app compares two paragraphs of text to each other and flags sentences containing differences.