ThatList for iOS Help
Templated Checklists
ThatList is an innovative and new way to track information using list templates. ThatList boasts a brilliant tree view structure to create and organize your lists. Create custom list templates and use them to store information. ThatList was developed with mobility in mind. A few quick clicks gets you tracking information quickly.


ThatFile is a file manager for Windows 10 operating system. It can be downloaded via the Windows App Store. Below is some basic information regarding the app.
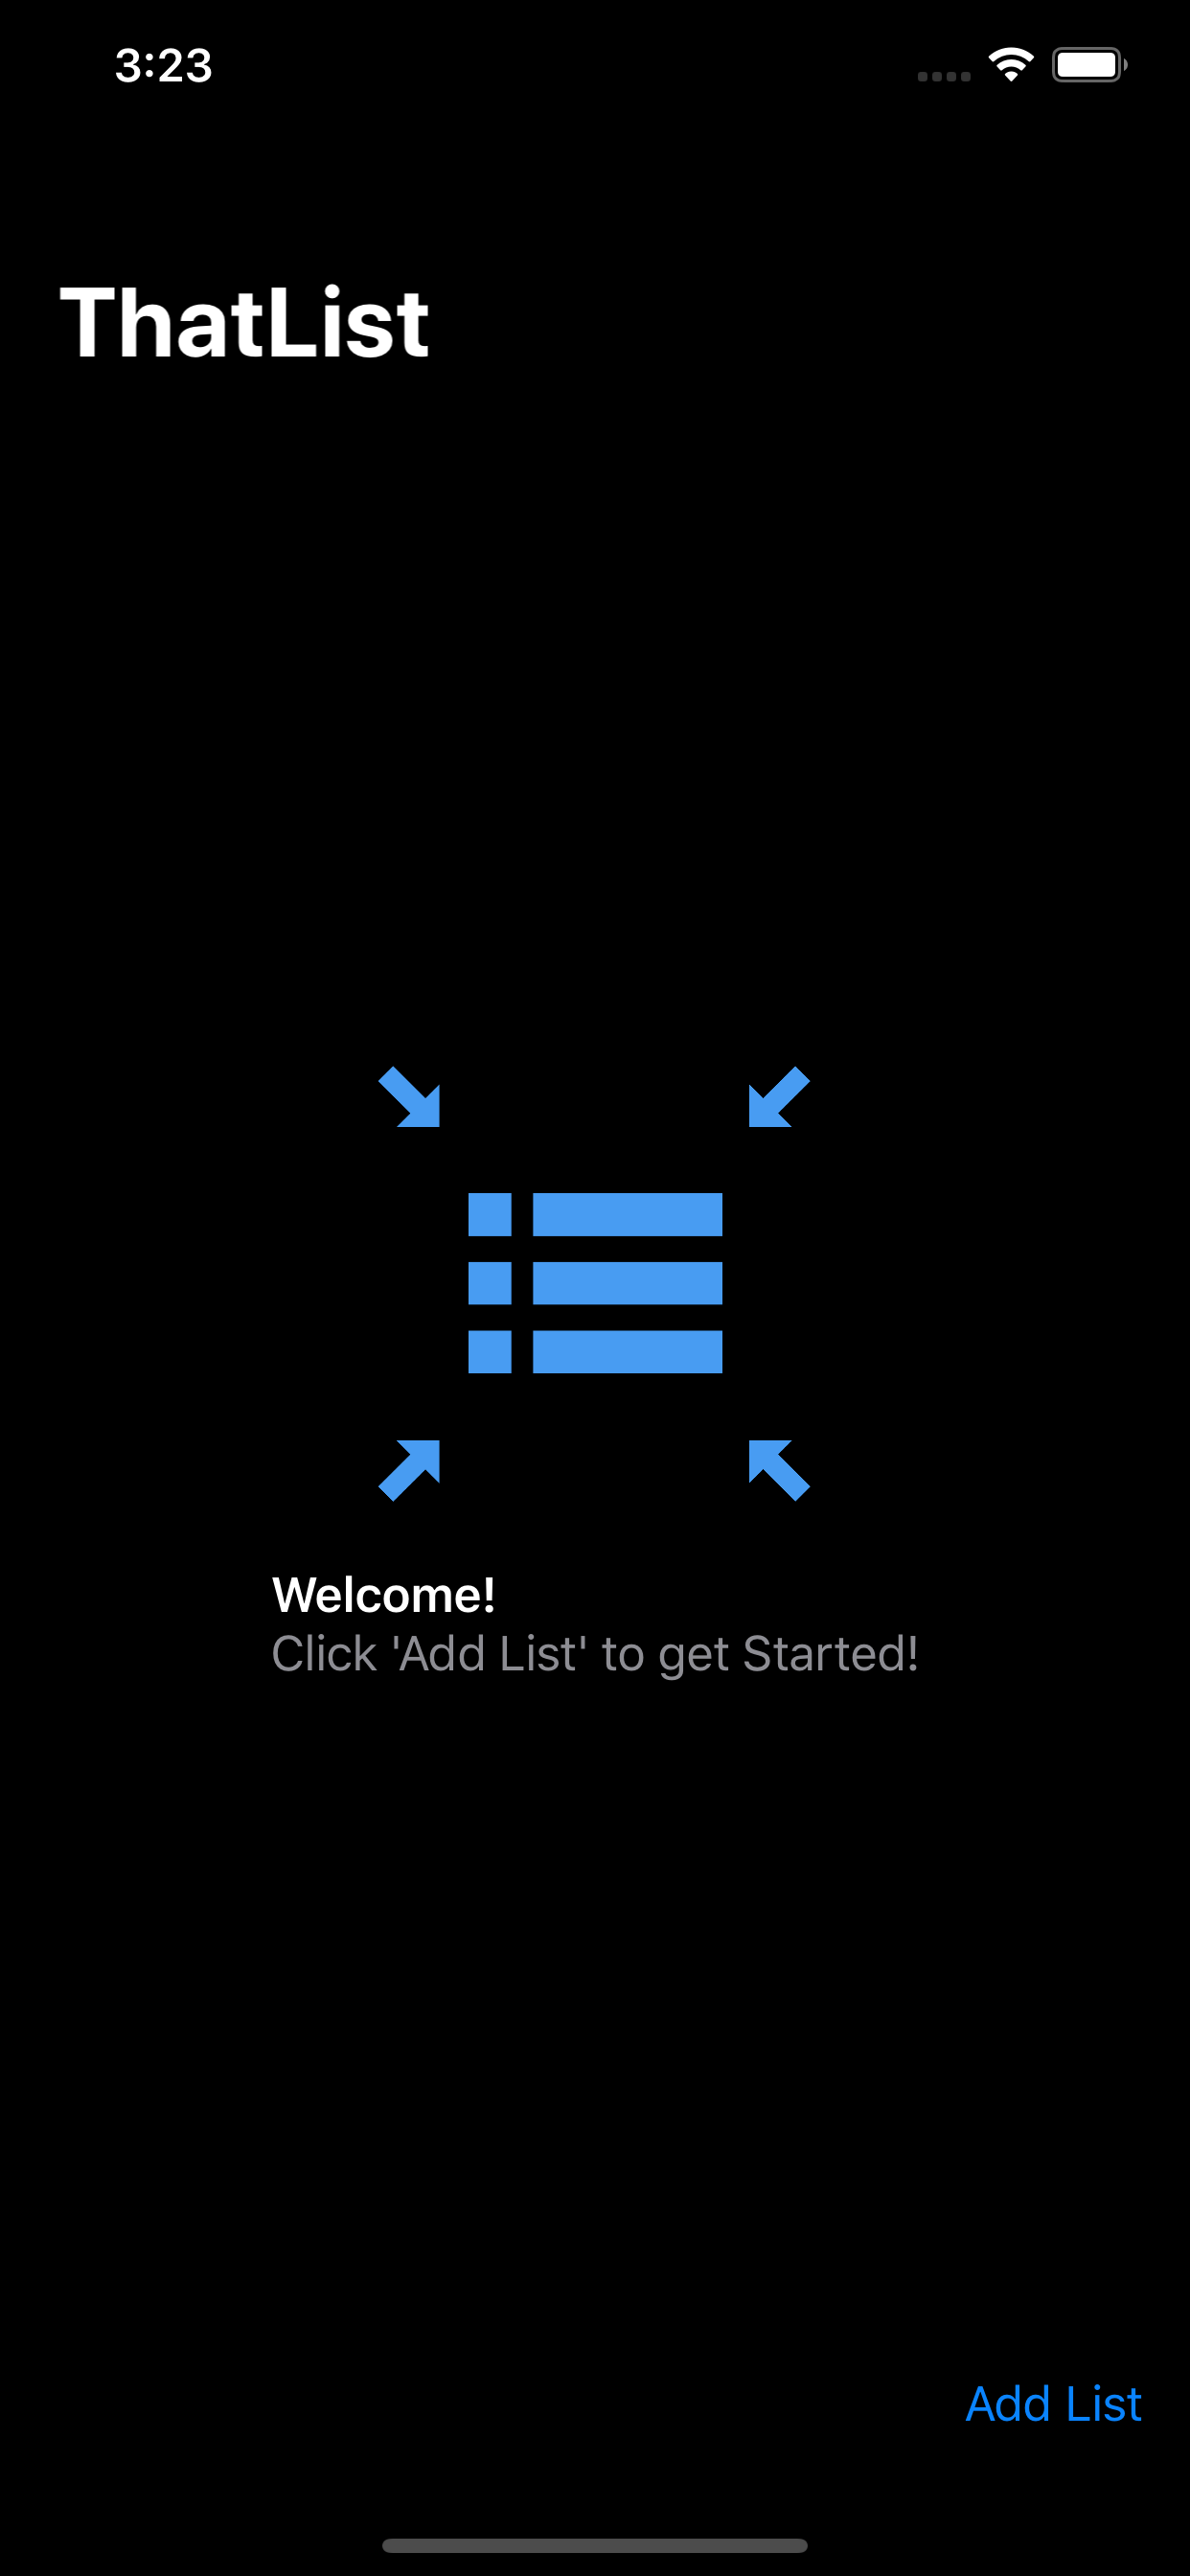
The Welcome Screen is the starting view. When the app is first launched, there aren't any Lists yet, so a welcome screen is presented - indicating to click 'Add List' to get started.
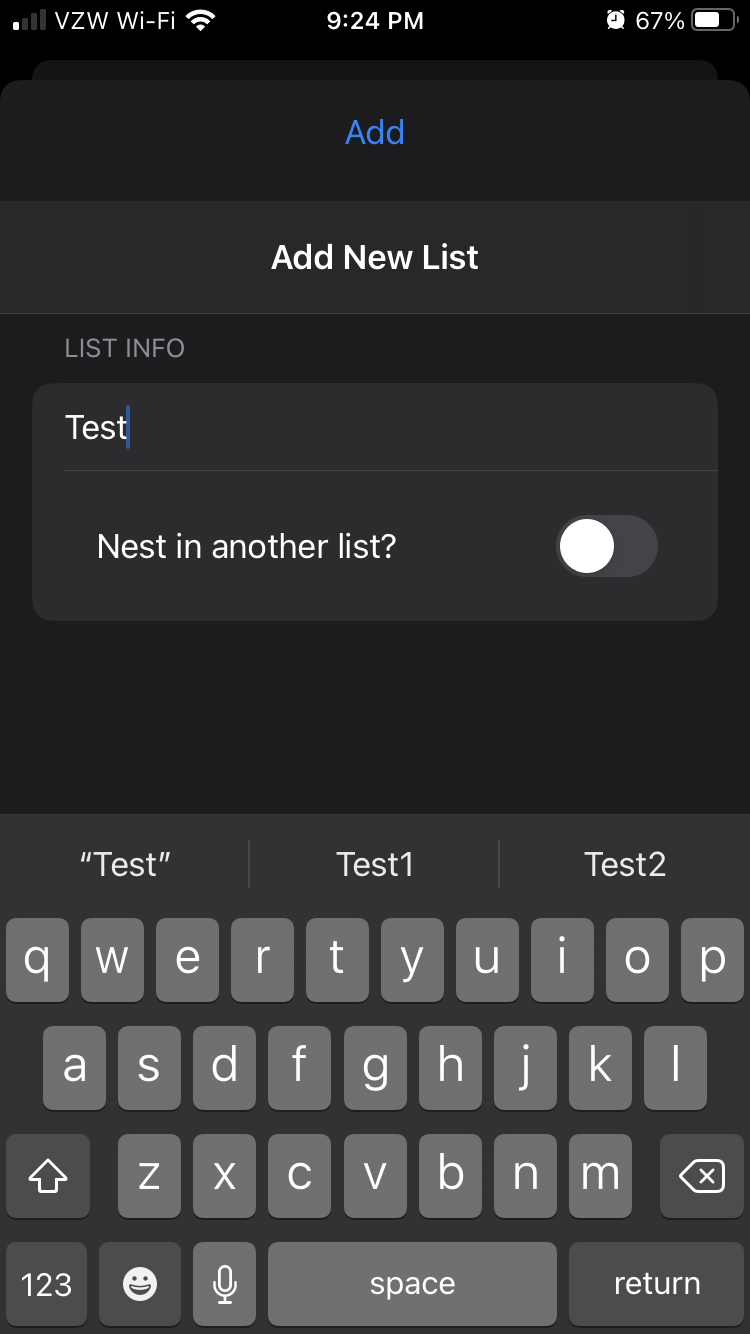
Clicking 'Add List' triggers the app to show an Add List view. From here, you can enter in a List name. You can choose to 'nest' the list under another list. Checking 'Nest in another list' shows an additional menu option, which you can use to select an existing list for your new list to be nested under.
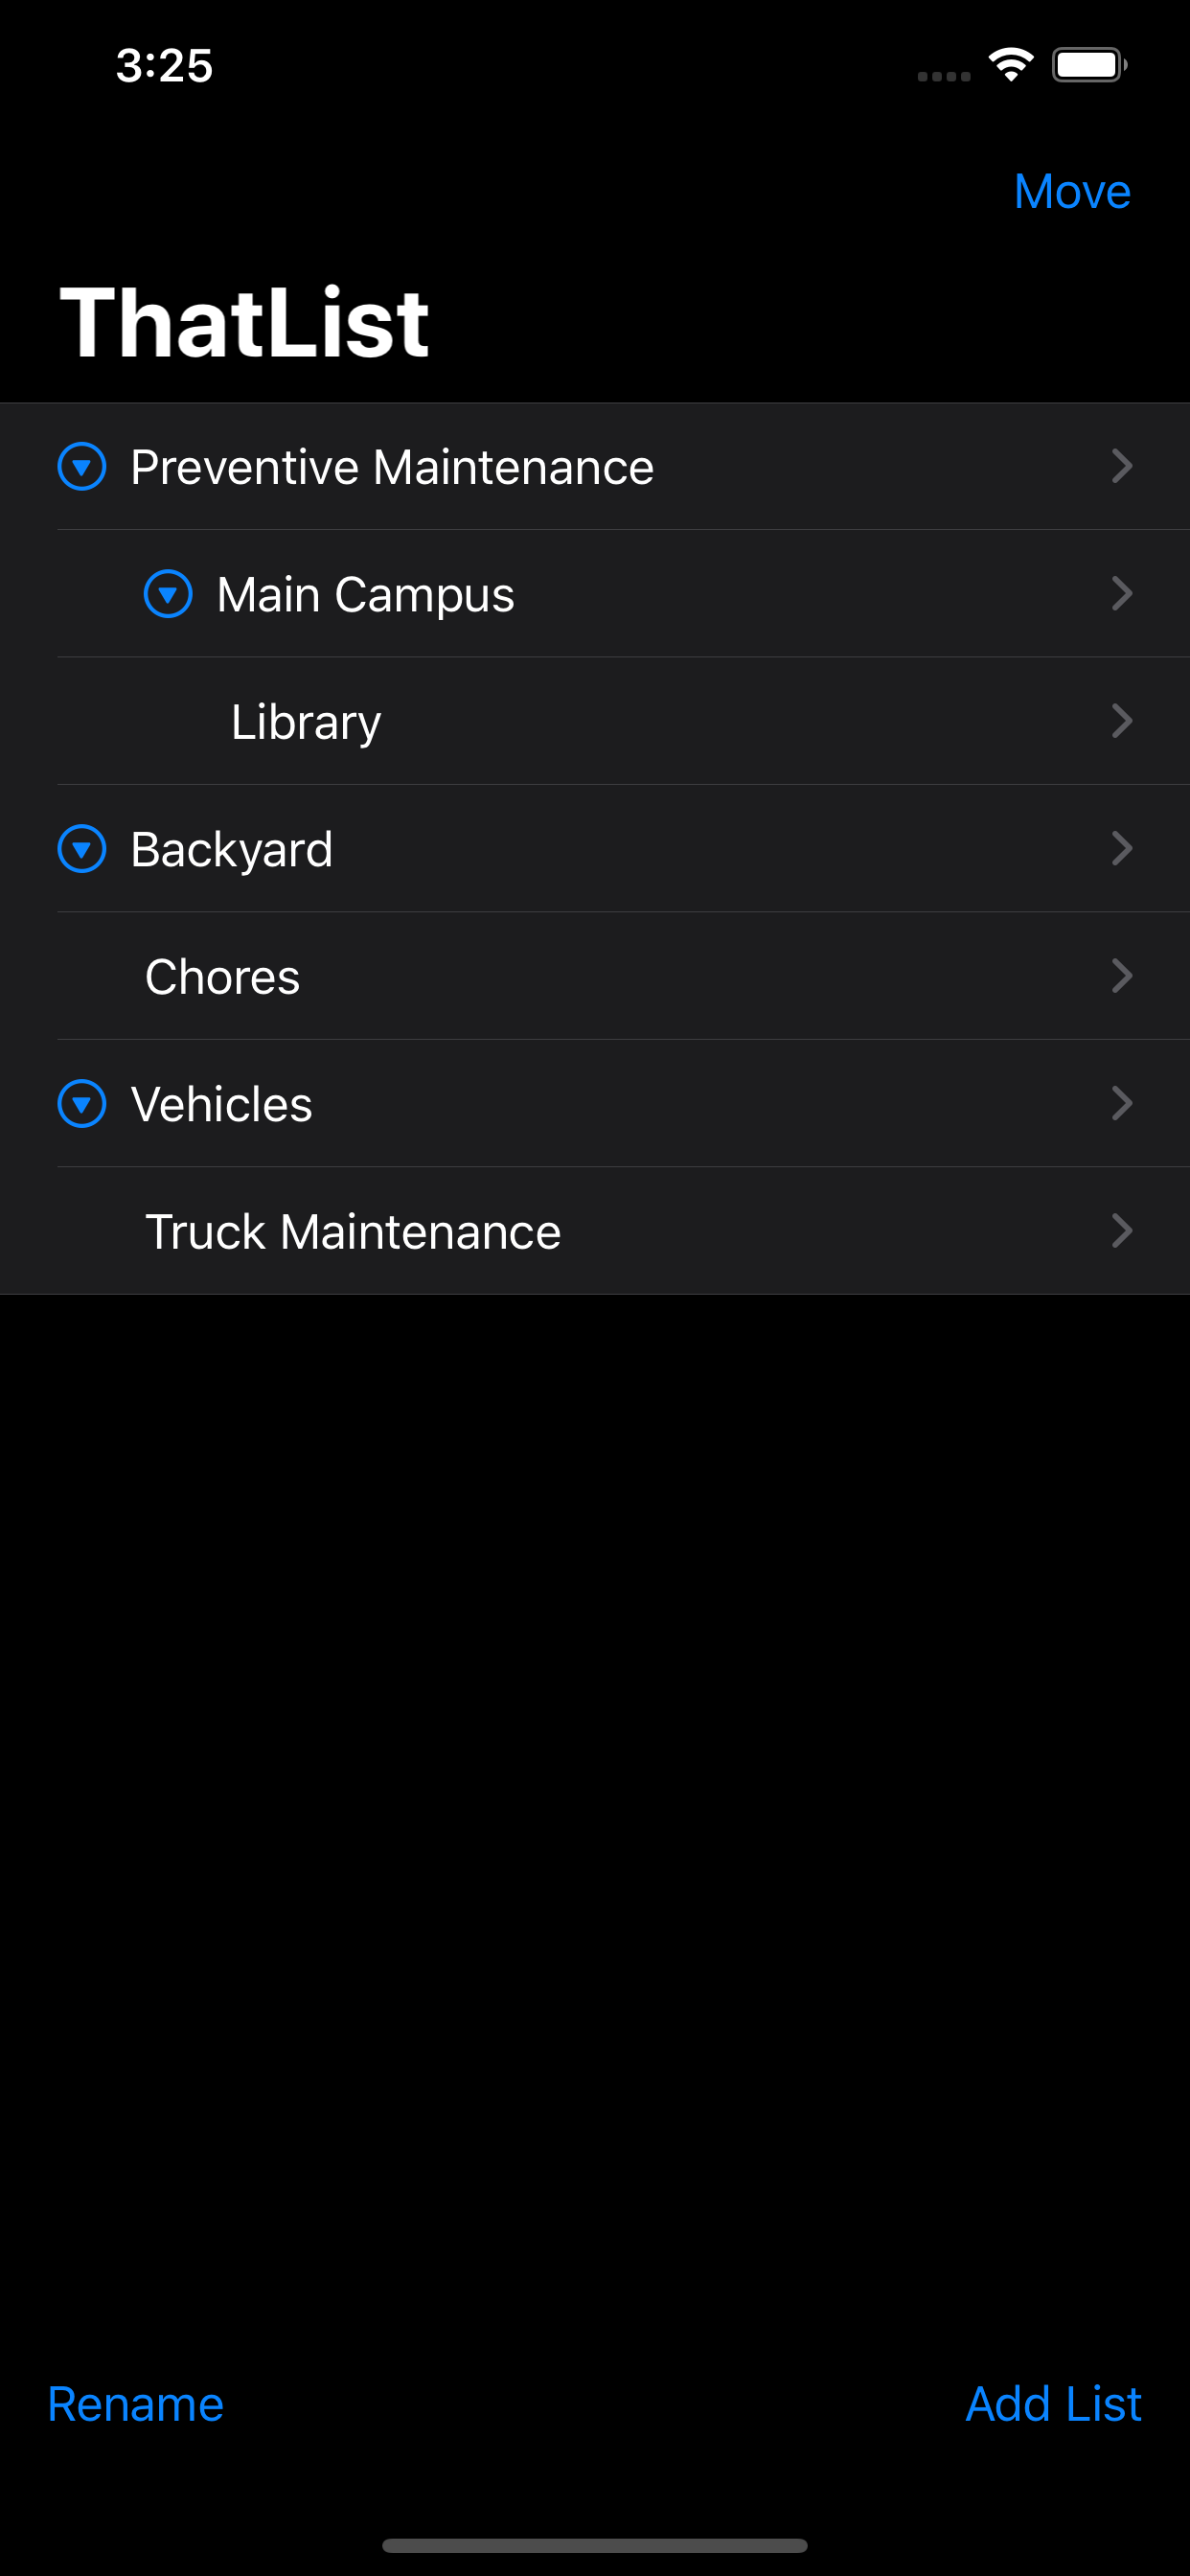
ThatList boasts a brilliant TreeView structure. This allows for easy and familiar data display for users to get straight to work adding content.
AddList action allows you to create a new List. Lists contain one Template and whatever checklists you create. When adding a new List, there is an option to 'nest' the new List under another List.
Click the triangle to expand/collapse a treeview item. Items can be nested inside for a parent-child setup.
Use the 'Move' action to show commands for Arrange & Move
- Arrange - Allows for rearranging items into whatever suitable order you need.
- Move - Shows Move operation view. This is used to 'nest' items.
Sometimes you need to rename an item, the 'Rename' action takes care of that!
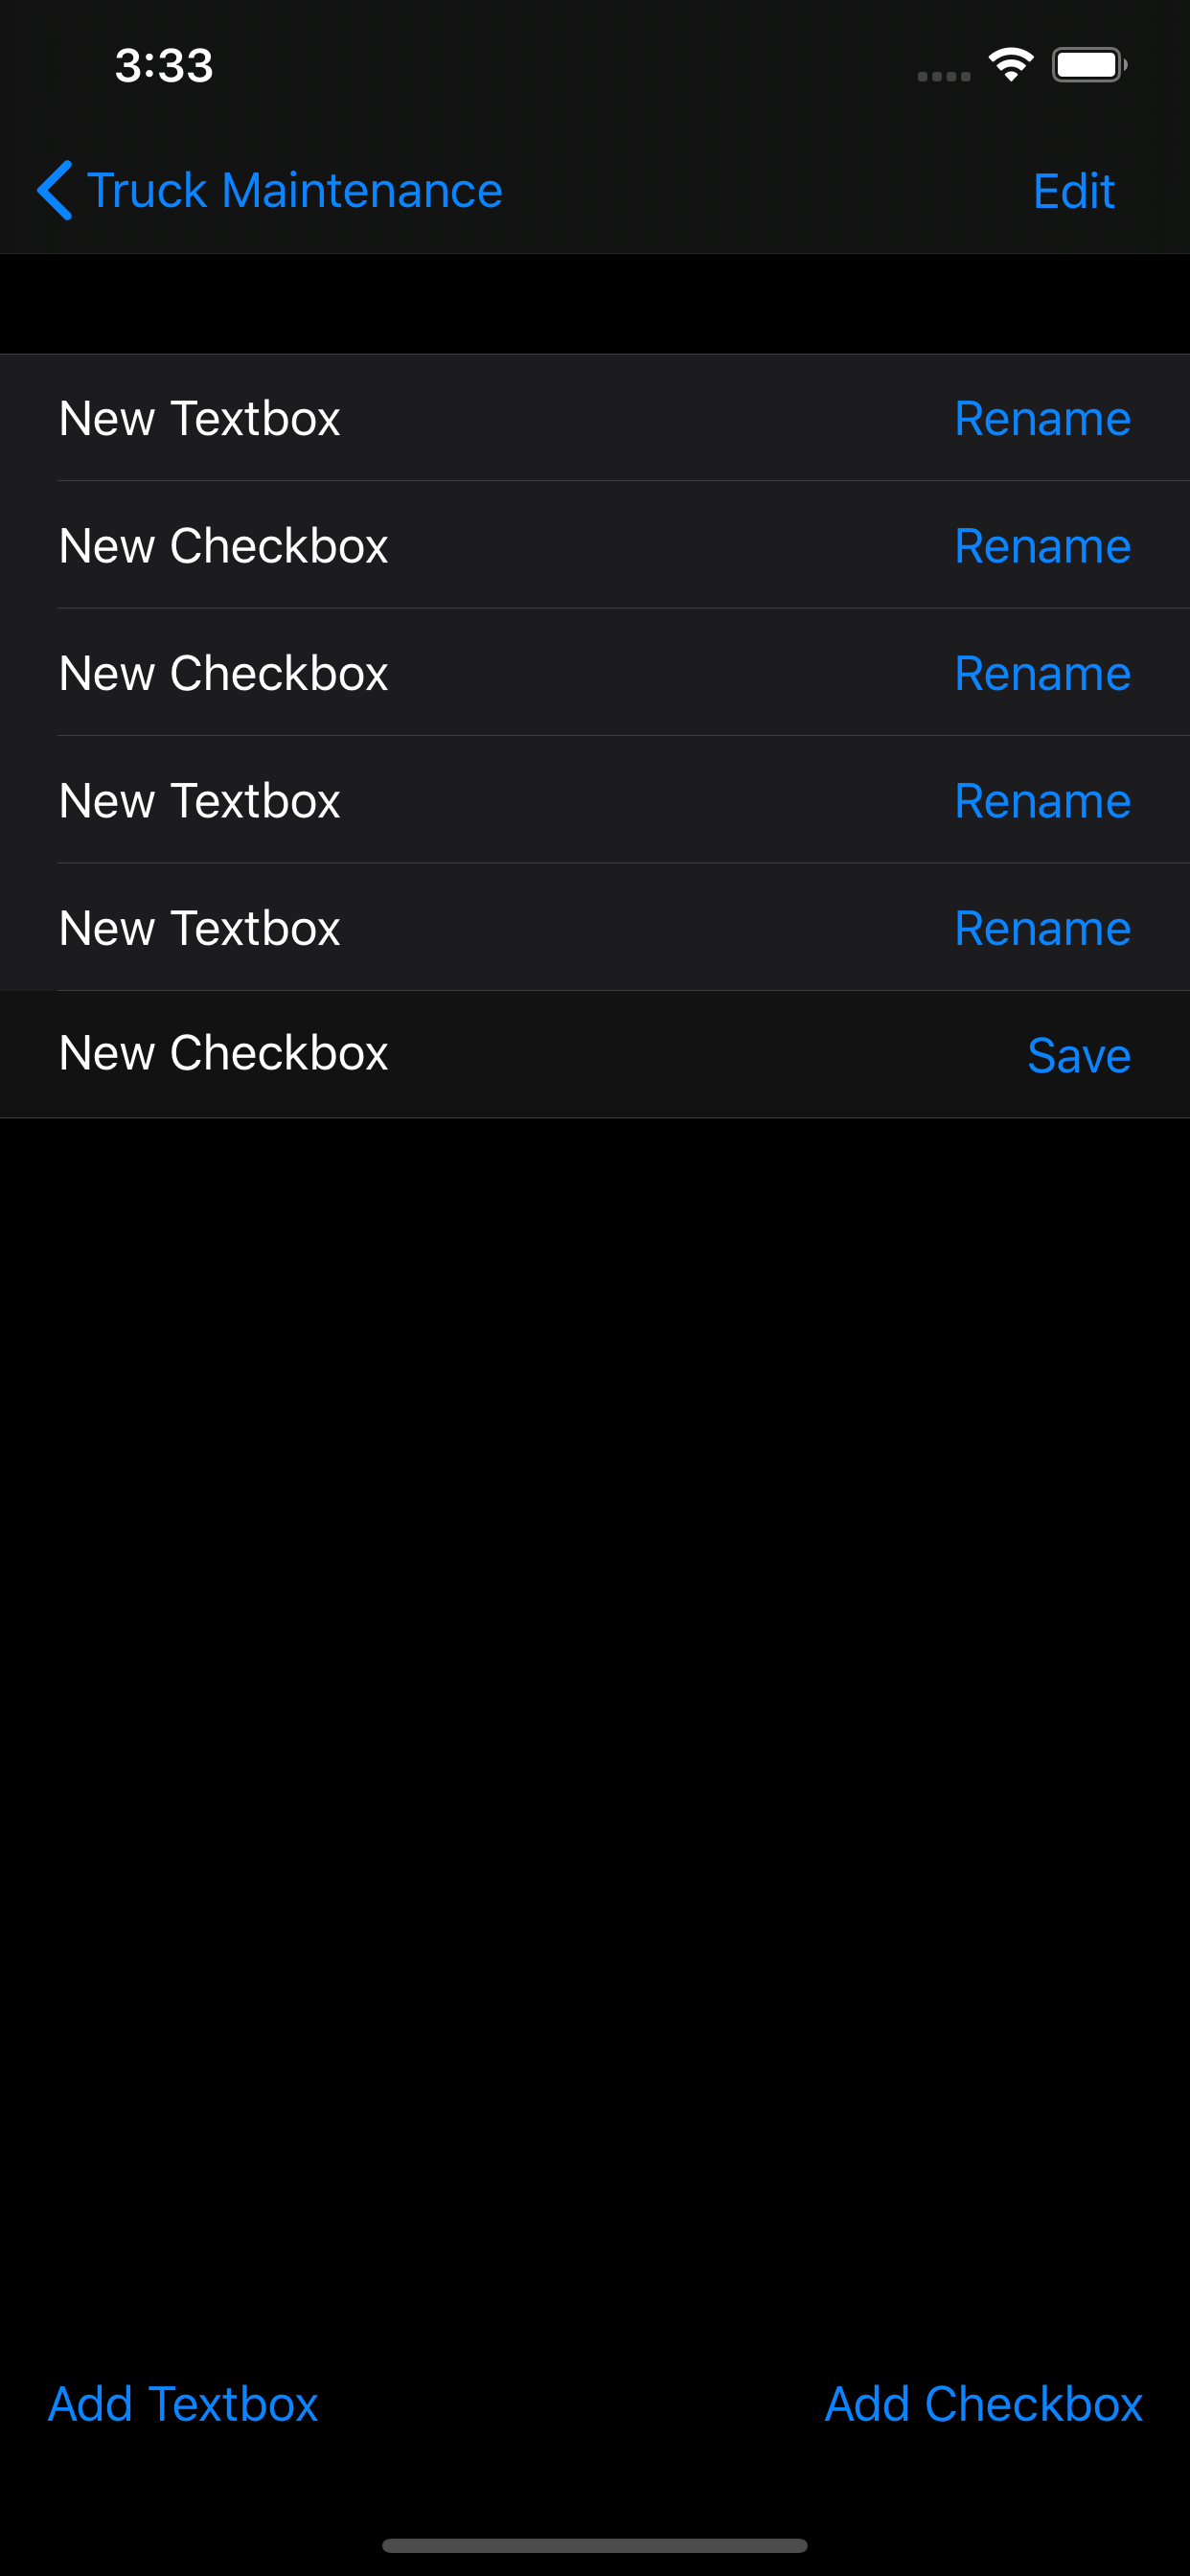
The Template is where you do all of the List's building. Create text and/or checklist elements to build your List.
- Add Textbox - Creates a textbox element. These fields support standard characters. They can also be left blank, if you're looking to add spacing between elements.
- Add Checkbox - Creates a checkbox element. These fields allow you to 'tap' the item when in List View to 'check-off' the item. Think of these as a task completion field.
Create near endless Checklists for a Template. Each Checklist stores its data independently, so no two checklists will conflict, even though their elements will be identical. Any changes to a Template's element gets propagated to all of the Template's Checklists. So you won't need to worry about making sure
- Add Textbox - Creates a textbox element. These fields support standard characters. They can also be left blank, if you're looking to add spacing between elements.
- Add Checkbox - Creates a checkbox element. These fields allow you to 'tap' the item when in List View to 'check-off' the item. Think of these as a task completion field.
To add either a Textbox or Checkbox element, tap the appropriate button at the bottom. This will add the element to the Template's list.
To edit the Template, tap the 'Edit' button. This allows you to drag the rows by the move icon (far right icon). When complete tap 'Done'. While in 'Edit Mode', you cannot click the 'Rename' buttons. *This is due to how iOS SwiftUI operates.*
To rename an element, tap the 'Rename' button for the row you wish to rename. The element will go into edit mode. Next tap in the text area to rename. Tap 'Save' when complete.
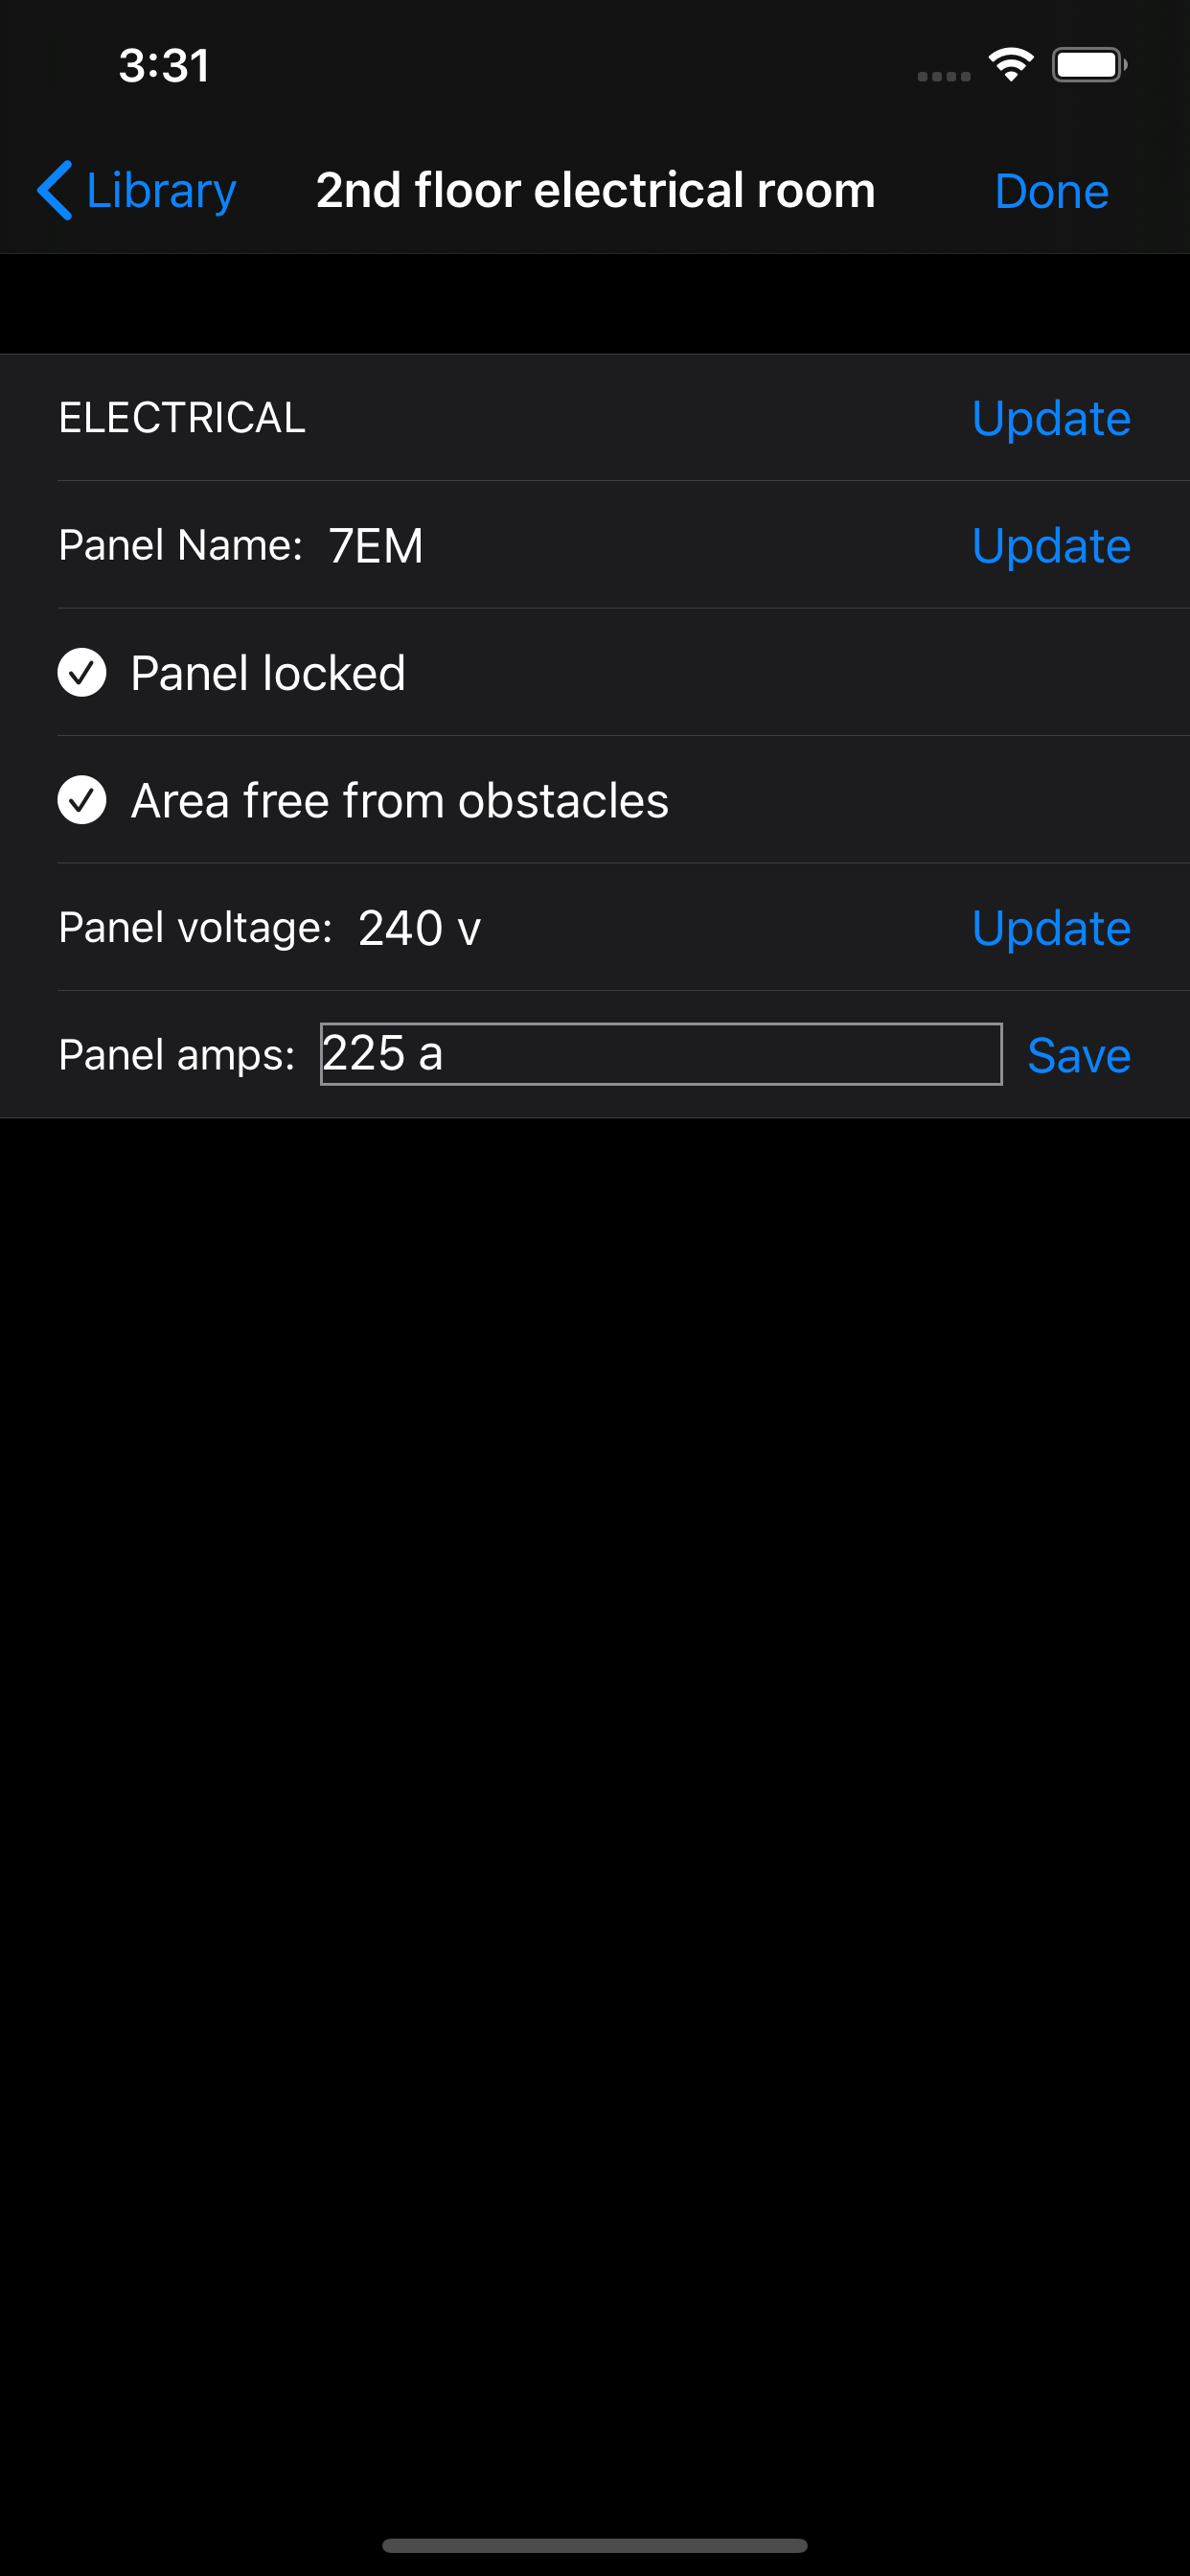
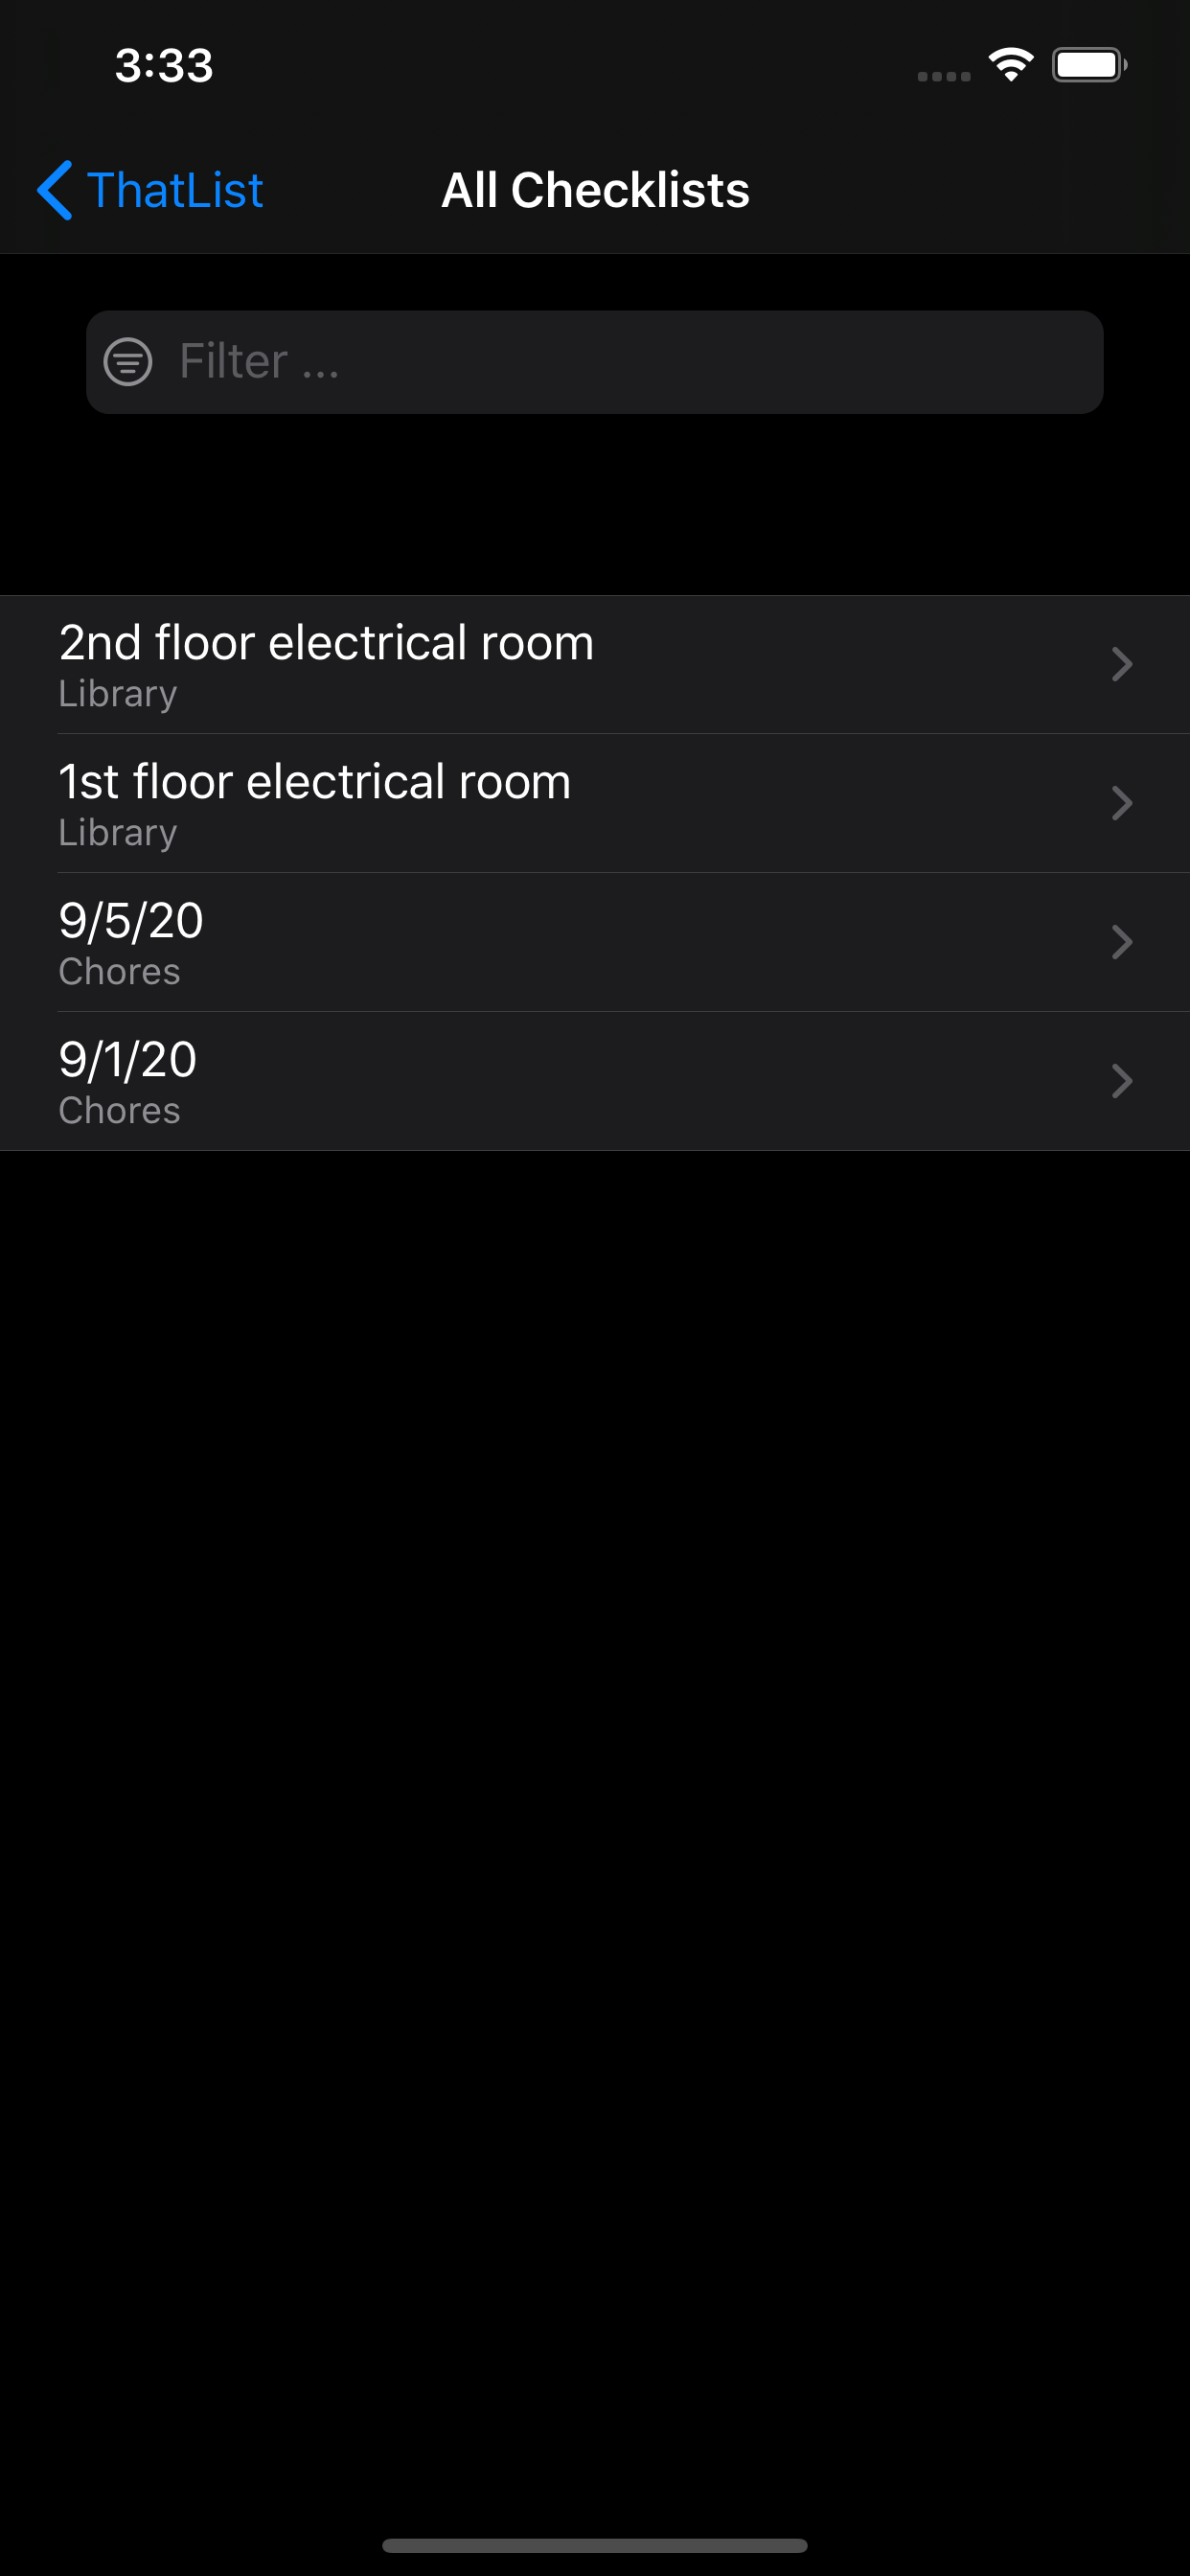
The All Checklists view shows a list of all created Checklists for all Lists. This is a great way to find recently modified Checklists. Additionally you can filter the Checklists by name.
To apply a Filter, tap the Filter text area and type in a filter criteria. The list of Checklists below dynamically updates to show matching results. When you locate the Checklist you need, simply tap the Checklist.
